Last updated on 10 November 2023
If you haven’t already done so, I suggest you read the previous article.
First step: preparing the paper
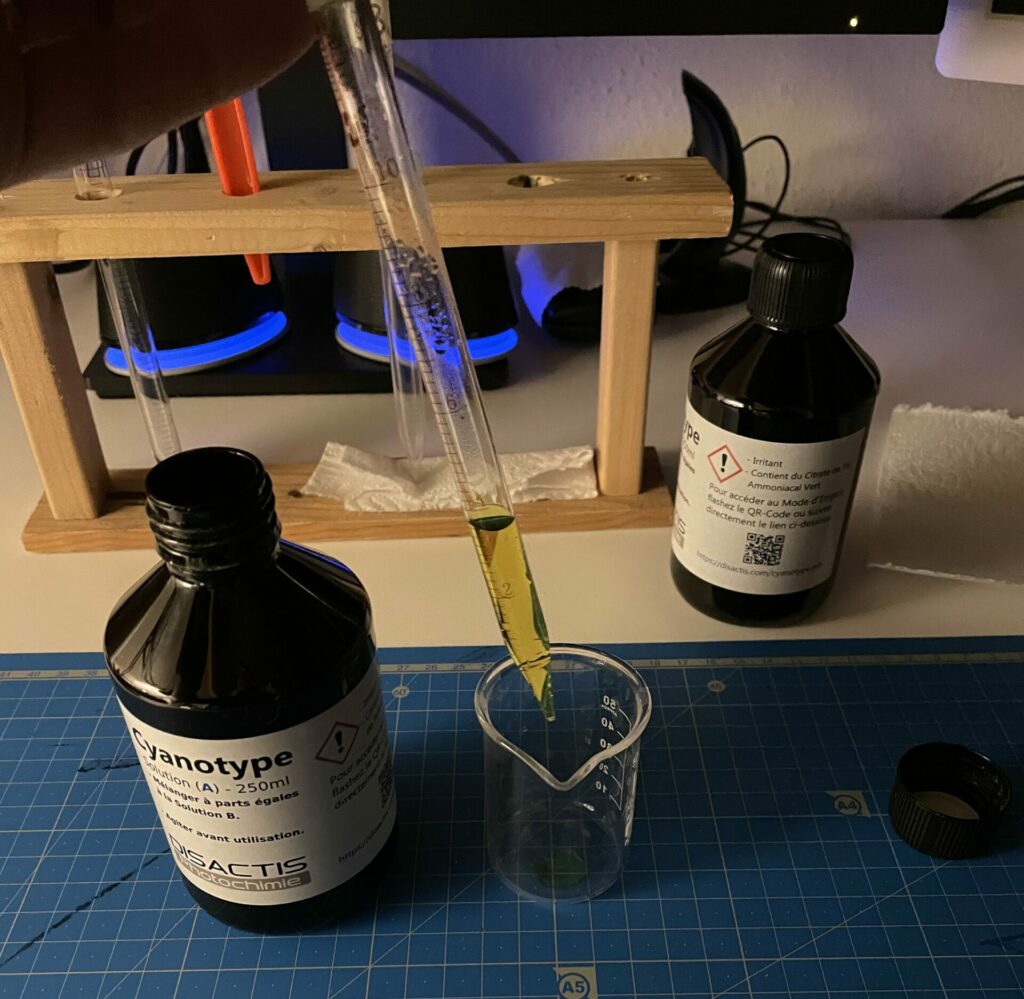
Use a pipette or syringe to take a few ml from the “Solution A” bottle, then another pipette/syringe to take the same amount from the “Solution B” bottle. 4 ml of each should enable you to prepare 3 or 4 sheets of A4 paper: be careful not to use the same pipette for both bottles! Mix gently and leave to stand for a minute in a dark place in a drawer or cupboard.
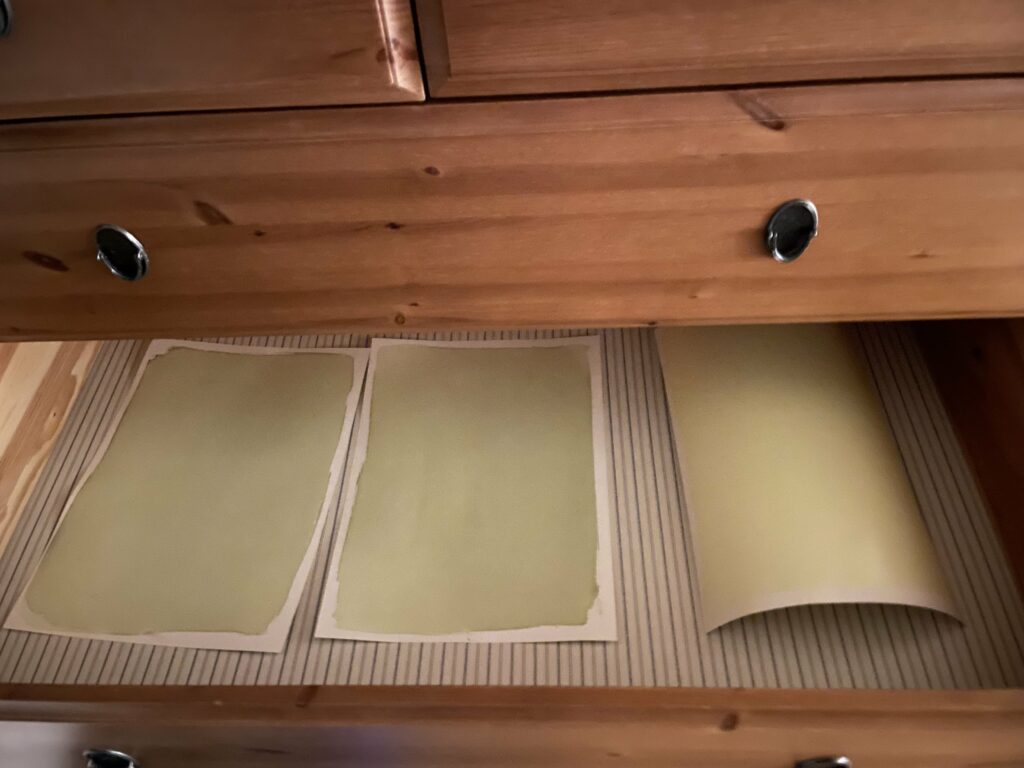
Brush the solution onto a sheet of paper as evenly as possible, then leave the sheet to dry in the dark. You can prepare several sheets in advance and store them in a dark place for several weeks: the colour will change from neon yellow to green, but the paper will retain its properties.
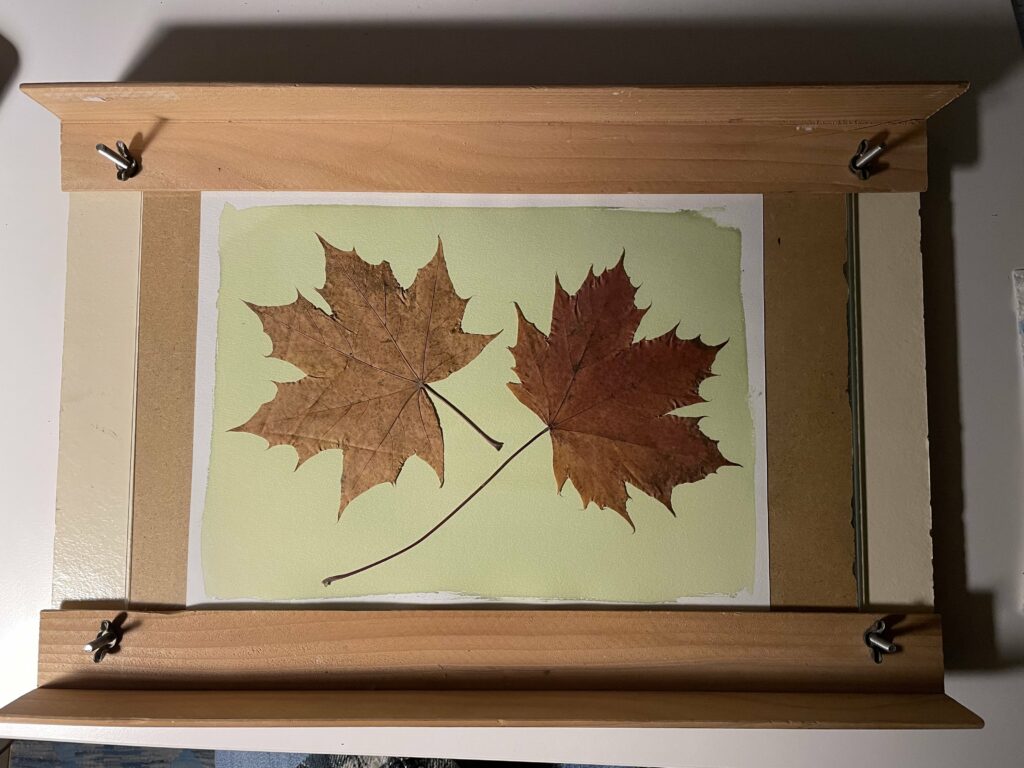
Once the paper is completely dry (30 minutes at room temperature should be enough), take it out, taking care to keep it in subdued light. Place the paper on the back of the coaster, then arrange a few objects on top, giving free rein to your inspiration: leaves, flowers, feathers, keys and so on. Place the glass on top to hold it in place, and place it under a UV lamp, or outside in direct sunlight.
- In the sun, allow 15 to 30 minutes in summer, 30 minutes to 1 hour in winter.
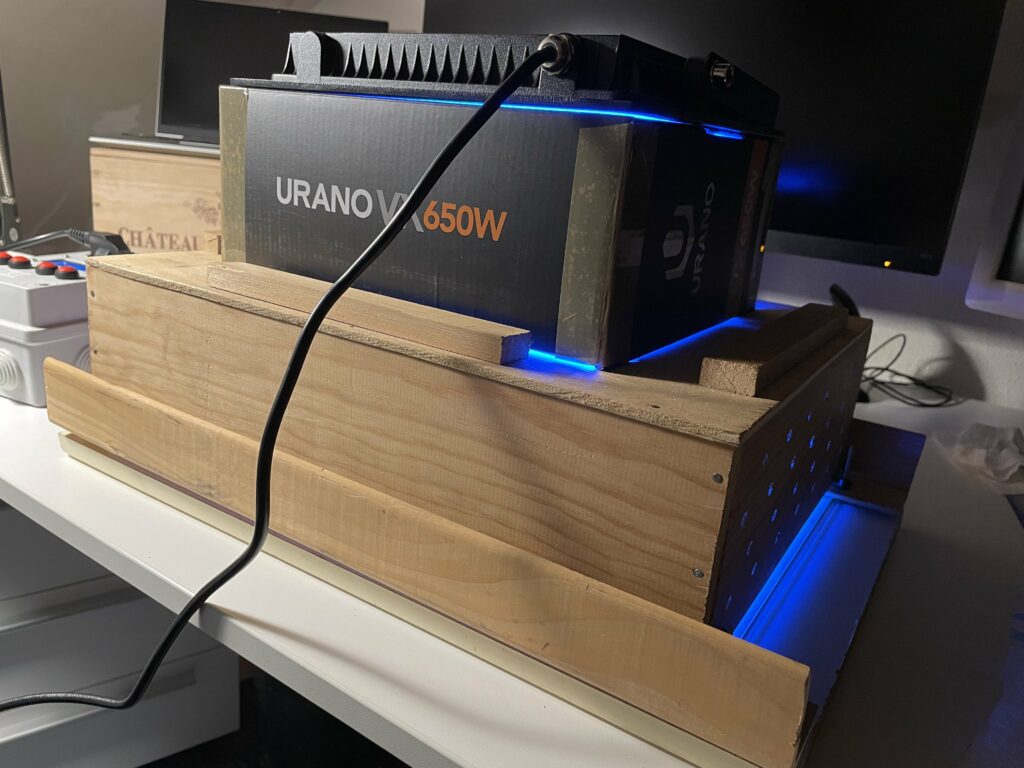
- Under a UV lamp like the one I use (Everbeam 365 nm 100W): 4 minutes with the lamp 22 cm from the paper.
- Under another type of lamp, you should apply the “pifometer” method: choose a time between 5 and 20 minutes and do a test: if the result is too dark, halve the exposure time, otherwise multiply by two. Example: 5 minutes (too light), 10 minutes (too light), 20 minutes (too dark), 15 minutes (correct result).
You’ll have to experiment if you want to play with the transparency of certain objects (a bird feather, for example).
During the UV exposure, take the opportunity to fill your tank with water: tap water is fine if it’s not too high in chlorine. You can also use rainwater if you have a rainwater collector at home. There’s no need to fill it to the brim – 3-4 cm will suffice for this first stage.
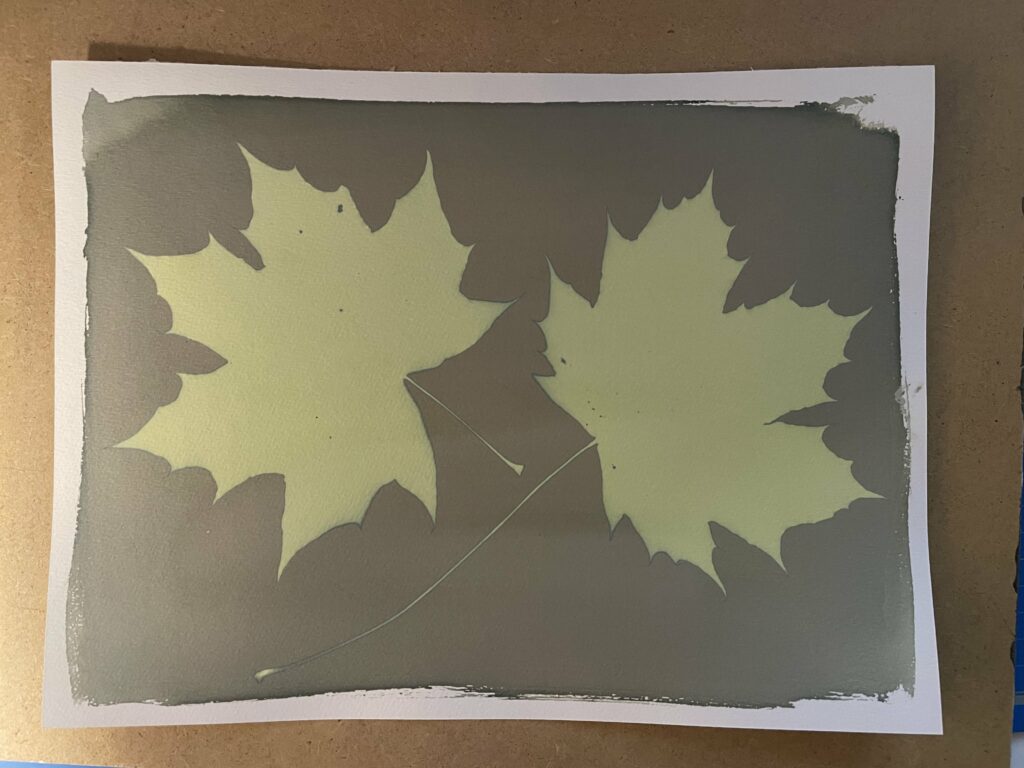
Once the UV exposure is over, remove the glass and any objects placed on the paper. You should already be able to see the silhouette of the objects placed on the paper in yellow-green on a green background: that’s a good sign! If you still can’t see anything and the paper has retained its original yellow colour, this means that the exposure wasn’t long enough.
Place the paper in the tray filled with water and tilt the tray back and forth to keep the water moving over the paper. In a few seconds, the green will turn blue and the yellow will disappear: continue until the yellow has completely disappeared. If necessary, replace the water in the tray to rinse the paper a second time if it has turned too yellow.
After rinsing, the print will slowly oxidise over the next few hours: the blue will darken and the contrast will increase. If you don’t like waiting, after rinsing add a few drops of hydrogen peroxide to the tray: oxidation will take place in a few seconds.
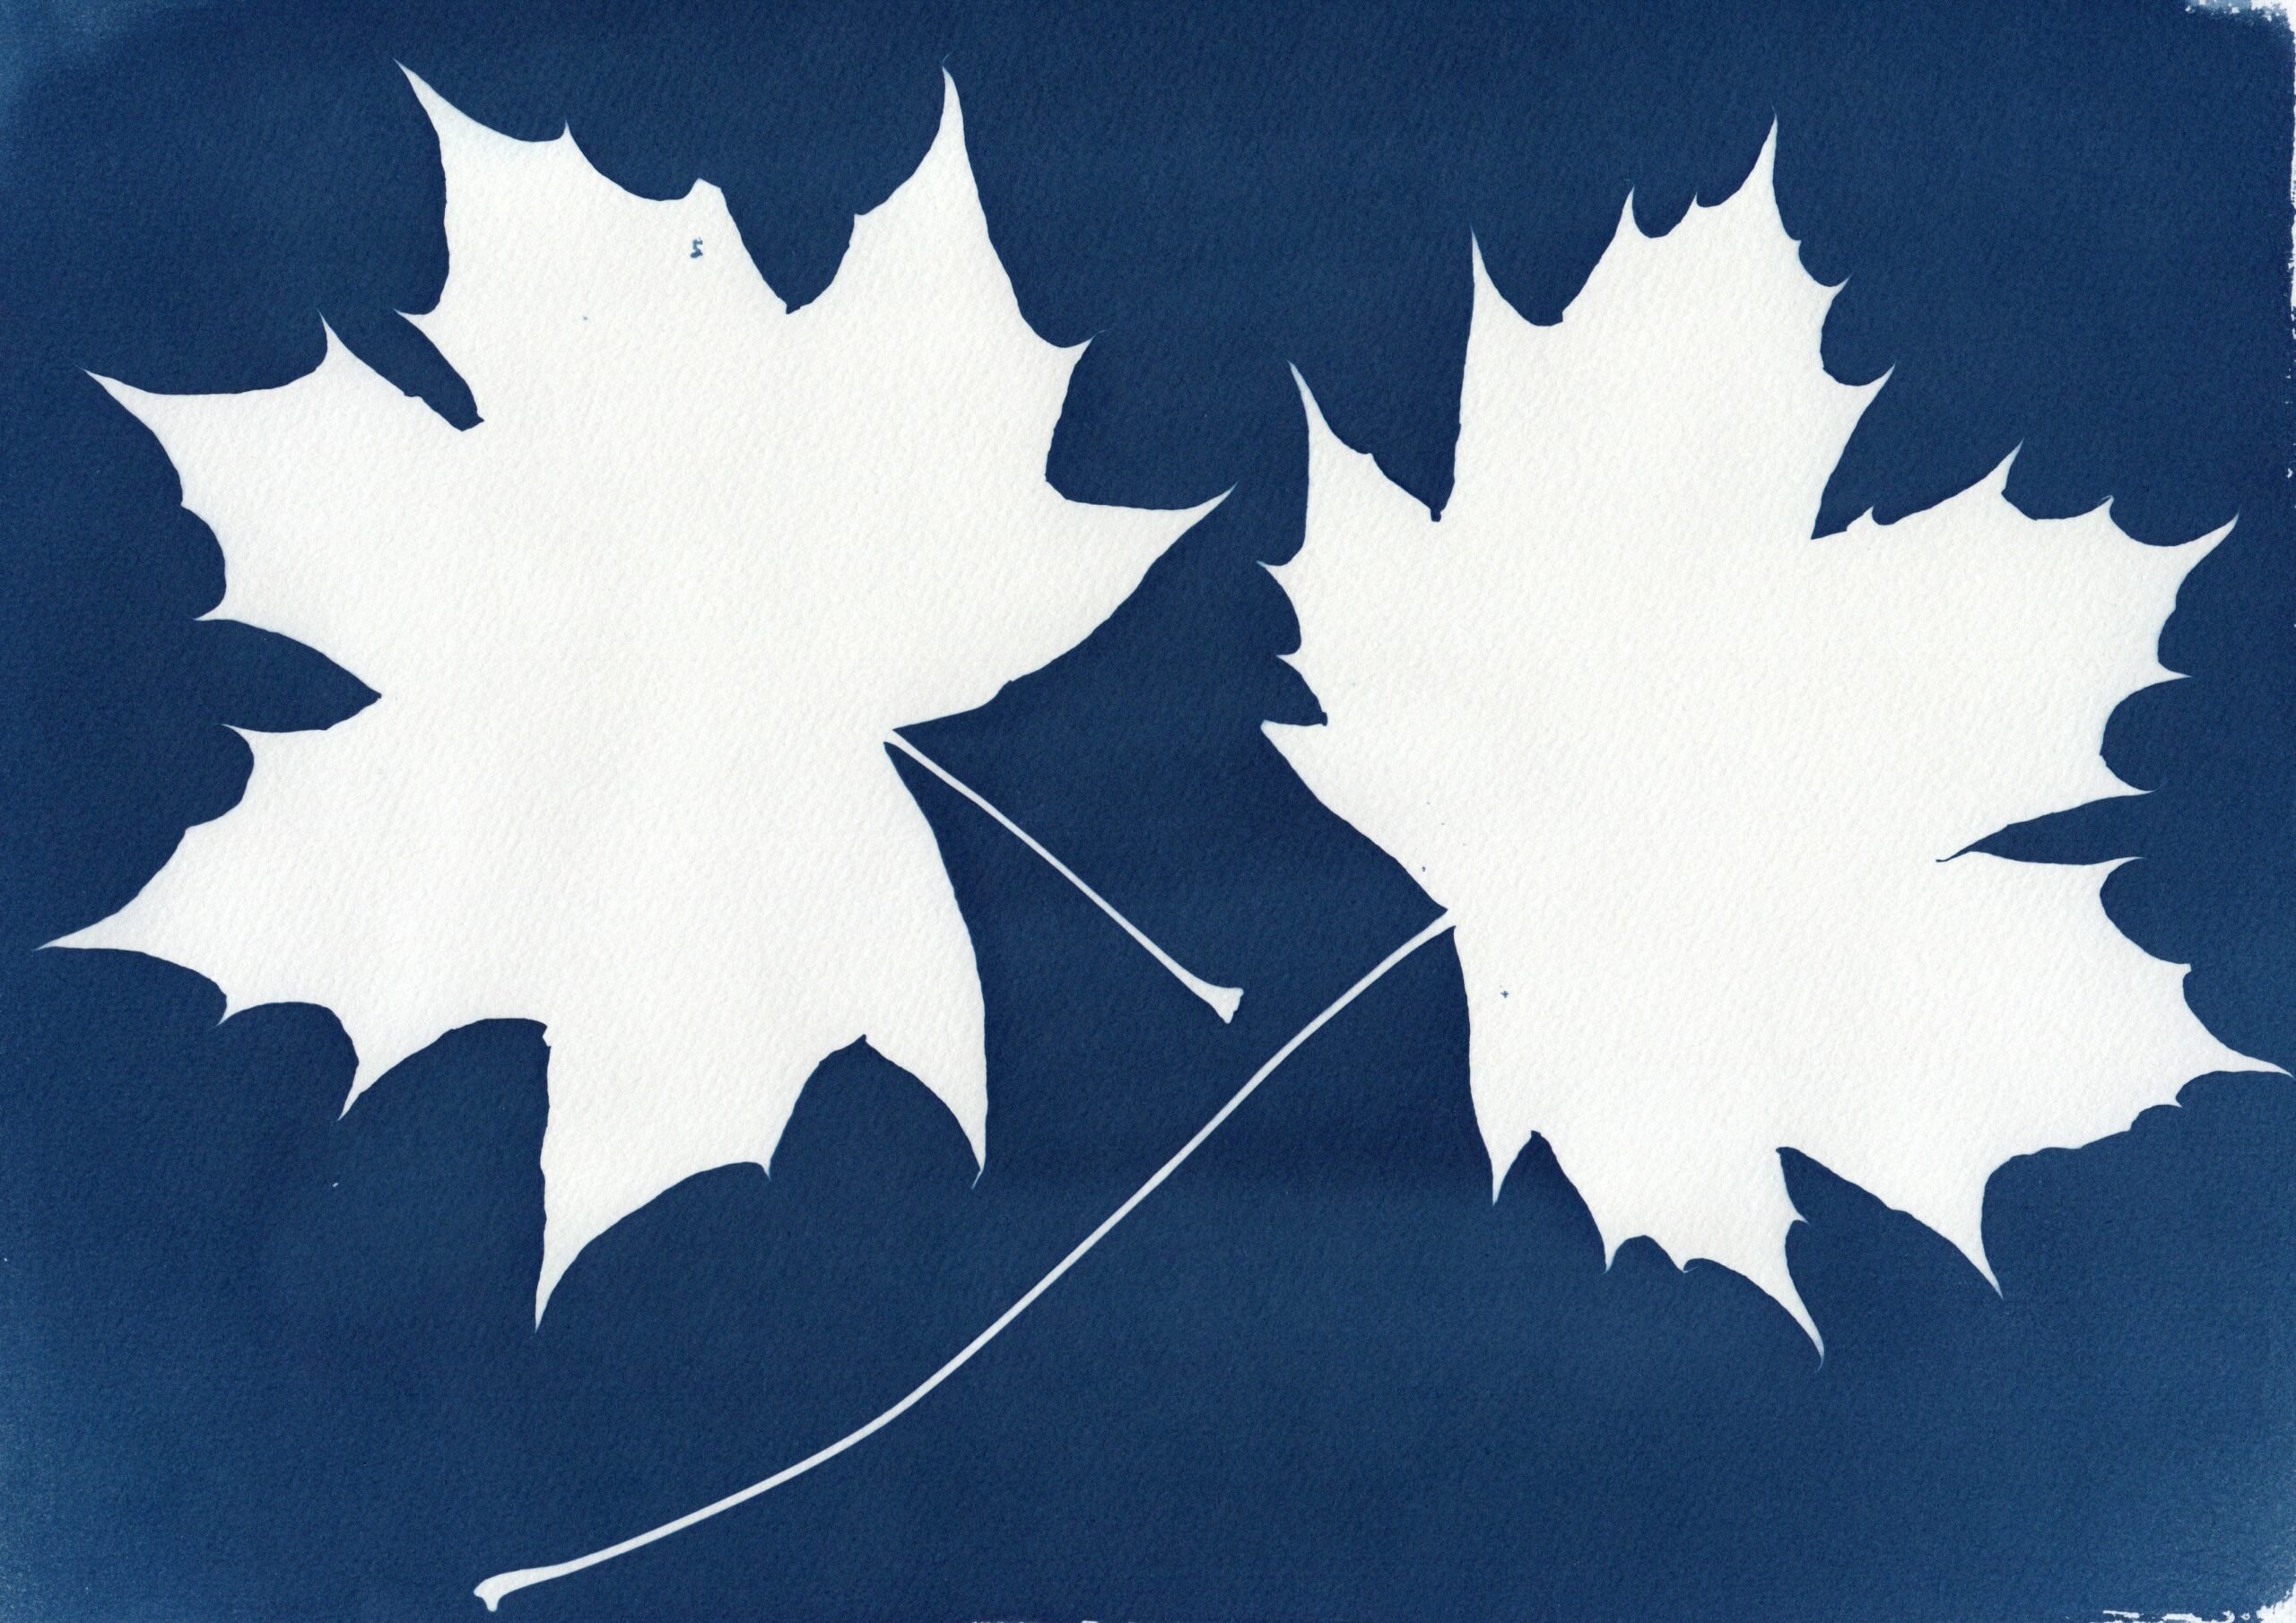
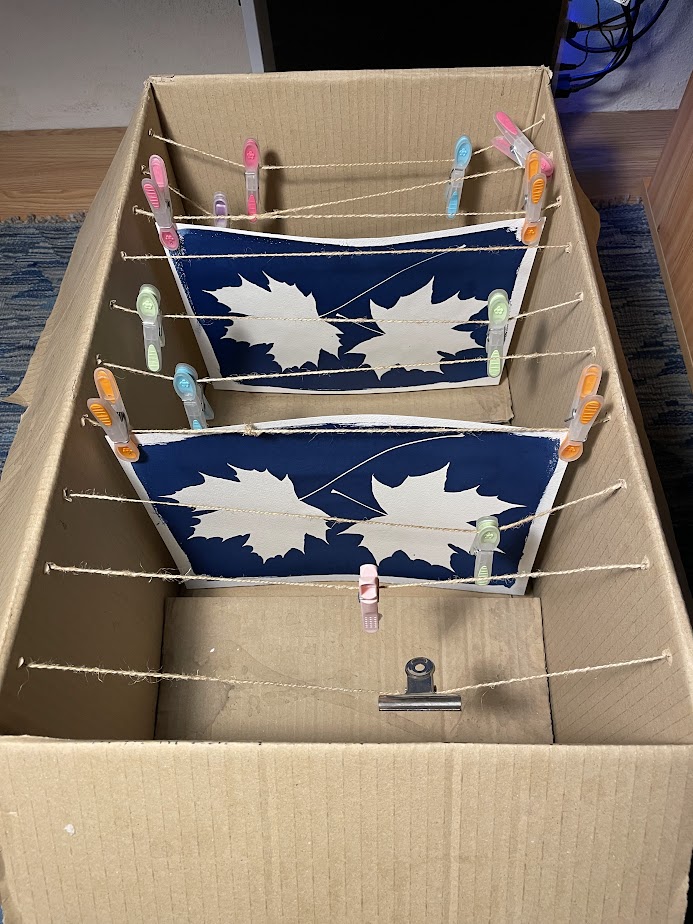
Then hang it to dry and admire the result. Congratulations, you’ve just made your first cyanotype!
What’s next?
If you’ve enjoyed the experience, this is just the beginning! Cyanotype offers a multitude of possibilities and derivatives. We’ll look at how to make a cyanotype print from any photo, by preparing a negative properly, how to use tea or coffee to transform a blue and white print into a brown and white one, and how to break the rules to open up the field of possibilities.
Bear in mind that with this process, not everything always works out as you expect, and that failure is part of the learning process! Persevere, and ask your questions in enthusiast groups, such as the Cyanotype Process group on Facebook.
Thank you for reading! Don't hesitate to leave a comment if you'd like clarification on a specific point, if you're having trouble with a particular step, or if you've seen an error in this article.
You can also register your email address from this page to be notified each time a new article is posted.
Gautier Cuquemelle